
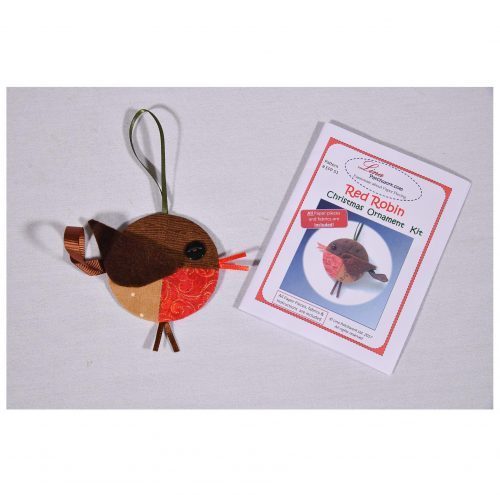
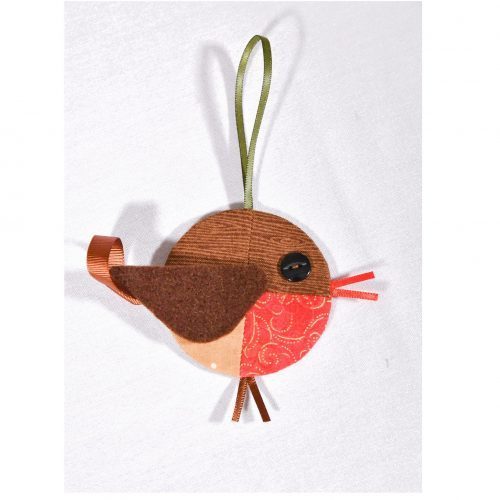
This lovely little robin Christmas Tree decoration is made with English Paper Piecing.
Description
The decoration comes as a complete kit, which means papers, fabrics, and embellishments.
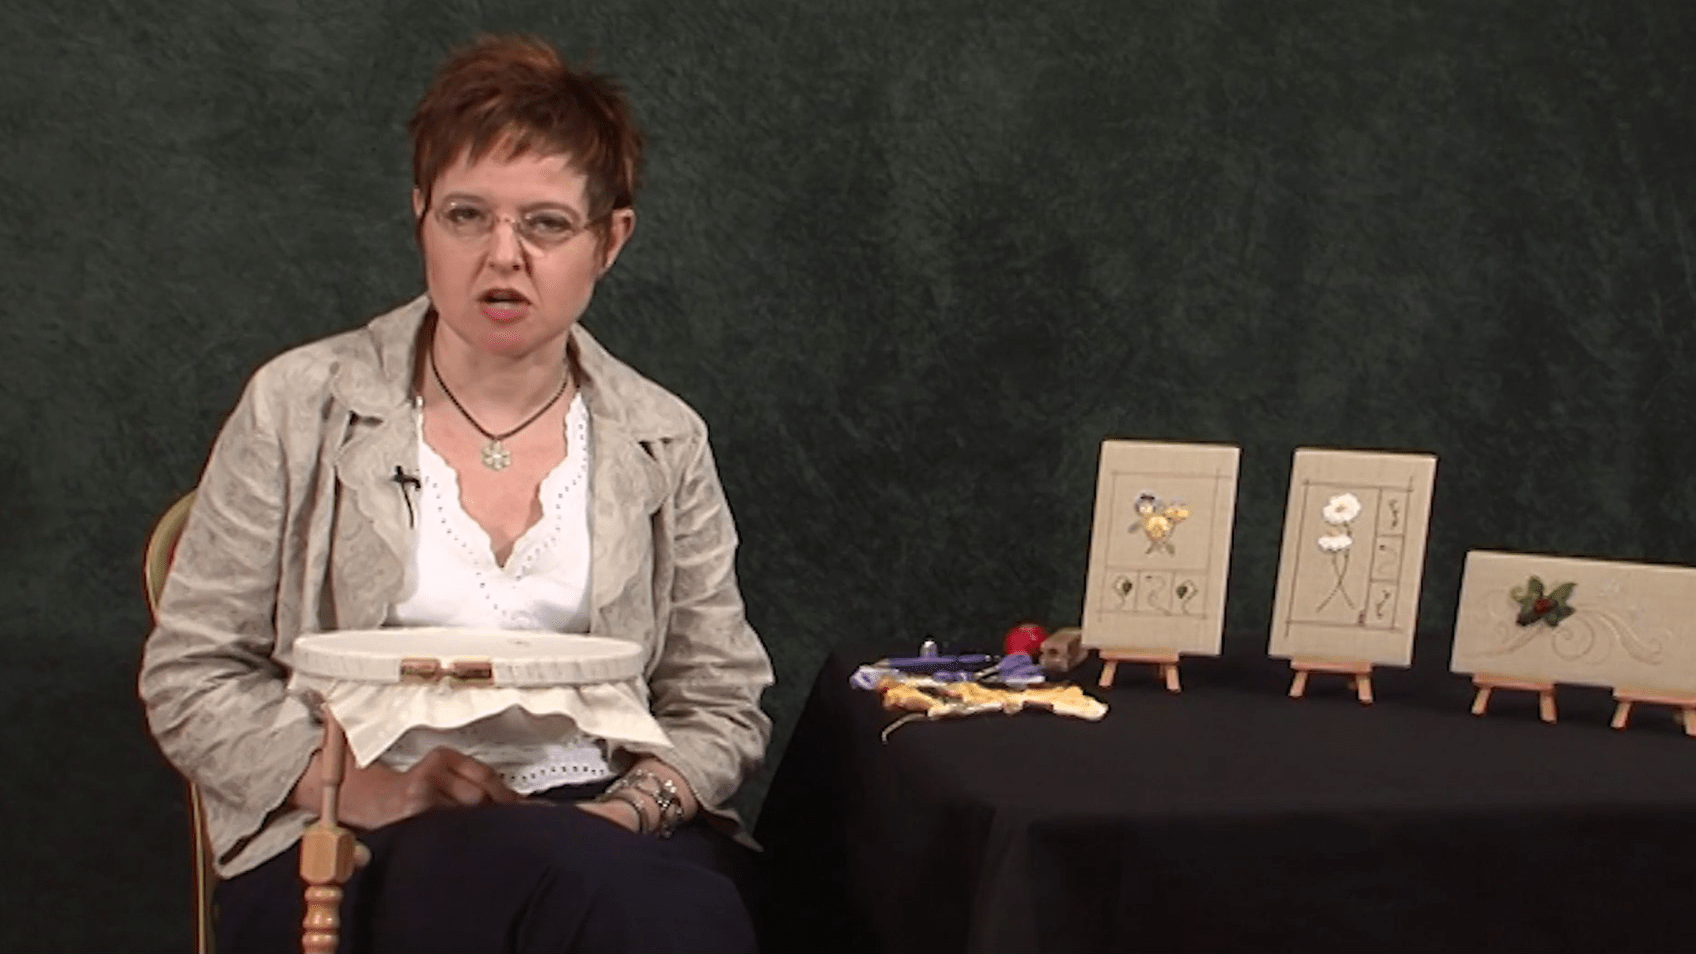
Nancy guides you through all the stages of making this delightful little bird. She starts with simple cutting out and tacking over the papers using contrasting thread. Then she moves on to how using a 3/8″ seam allowance is a little easier than the more traditional 1/4″. She also shows you how she likes to start with the straight edge, when covering curved papers and reminds that you do need to make two – one for the front of the bird and one for the reverse.
Remember when sewing the two together that it is wrong sides together and that you need to add in the feet, beak, tail and hanger.
The button eyes go on last as do the wings.
Oh, and don’t forget to take the tacking stitches out! If you start your tacking with the knot on the front, it is easier to remove at this stage.
Happy sewing.
Quick Links
animals | Christmas | classes with Nancy Adamek | classes with Valerie Nesbitt | embellishing | english paper piecing | Nancy adamek | quilt | quilting | quilting intermediate | quilting tutorial | quilting video tutorial | tutorial with Nancy Adamek | tutorial with Valerie Nesbitt | Valerie Nesbitt(You can use Quick Links, which are also on the left hand side of most pages, to find more content on specfic themes.)
About the Tutor

Nancy has been a keen Quilter for the last 20 years, specialising in English Paper Piecing. These high quality, pre-cut paper pieces are accurately die-cut, here in the UK, which means that not only will your patchwork be that much more accurate, but you can start sewing straight away and use them over and over again.


Reviews
There are no reviews yet.