Changing the Rotary Cutter Blade
Classes with Valerie Nesbitt • Educational, G, 01-Aug-2018
WORKSHOP NOTES
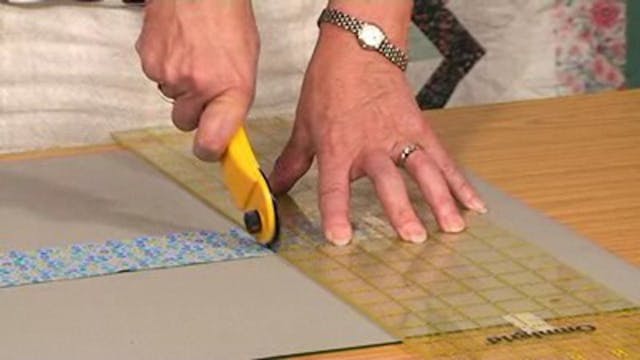
Remove Old Rotary cutter Blade:
Finger on the centre of the cutter, turn cutter over, remove nut and washer
Turn cutter back; remove keep and old blade (you should still have the black safety cover there).
Replace New Rotary cutter Blade:
Place black onto of black safety cover – writing face up
Insert the keeper – writing face up
Hold and turn cutter over;
Replace washer and nut, tighten finger tight.
Basic Patchwork Skill
Changing the blade in our rotary cutter is something we should do more often because working with a blunt or damaged blade can be dangerous.
How many times does one puzzle over how to change the blade and where do all the pieces go once you have taken the blooming thing apart! Remember – if you have bits left – you didn’t do it right!
Click here to learn more about Valerie Nesbitt.
Up Next in Classes with Valerie Nesbitt
-
Rotary Cutting Strips, Squares and Re...
Rotary cutting patchwork
The rotary cutter was designed to quickly and accurately cut through multi-layers of fabric. It allows you to get to the fun part of sewing your project, whether by hand or machine. The various rotary cutter styles do the same job, but the different blade sizes equate to... -
Thangles Candlemat Project with Valer...
Half Square Triangle Patchwork Blocks the Easy Way
This workshop uses the thangles method of creating half square triangles from the same strip of fabric as you would cut the plain squares. So, no more worrying about maths and 3/8″ or 7/8″. Perfect, half square triangle patchwork units every time... -
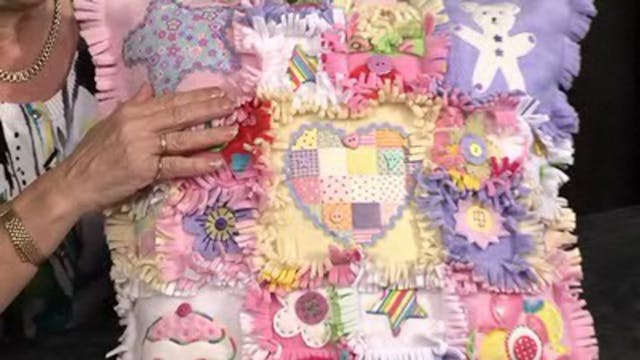
Rag Edge Bag, Quilt and Cushion with ...
Rag quilts have exposed seam allowances on their fronts and finished traditional seams on their backs.
Whether you are making the bag, cushion, or quilt, you can use small squares of fabric, add scraps of wadding and work both sides of the project at the same time. So when you are done no laye...