
This is the final section for making the quilt top and what a great way to use up your scraps.
Adding Border and Scrappy Edging Jennie’s Stripy Stripey Story Quilt
| Skill Level | |
|---|---|
| Tutor |
Description
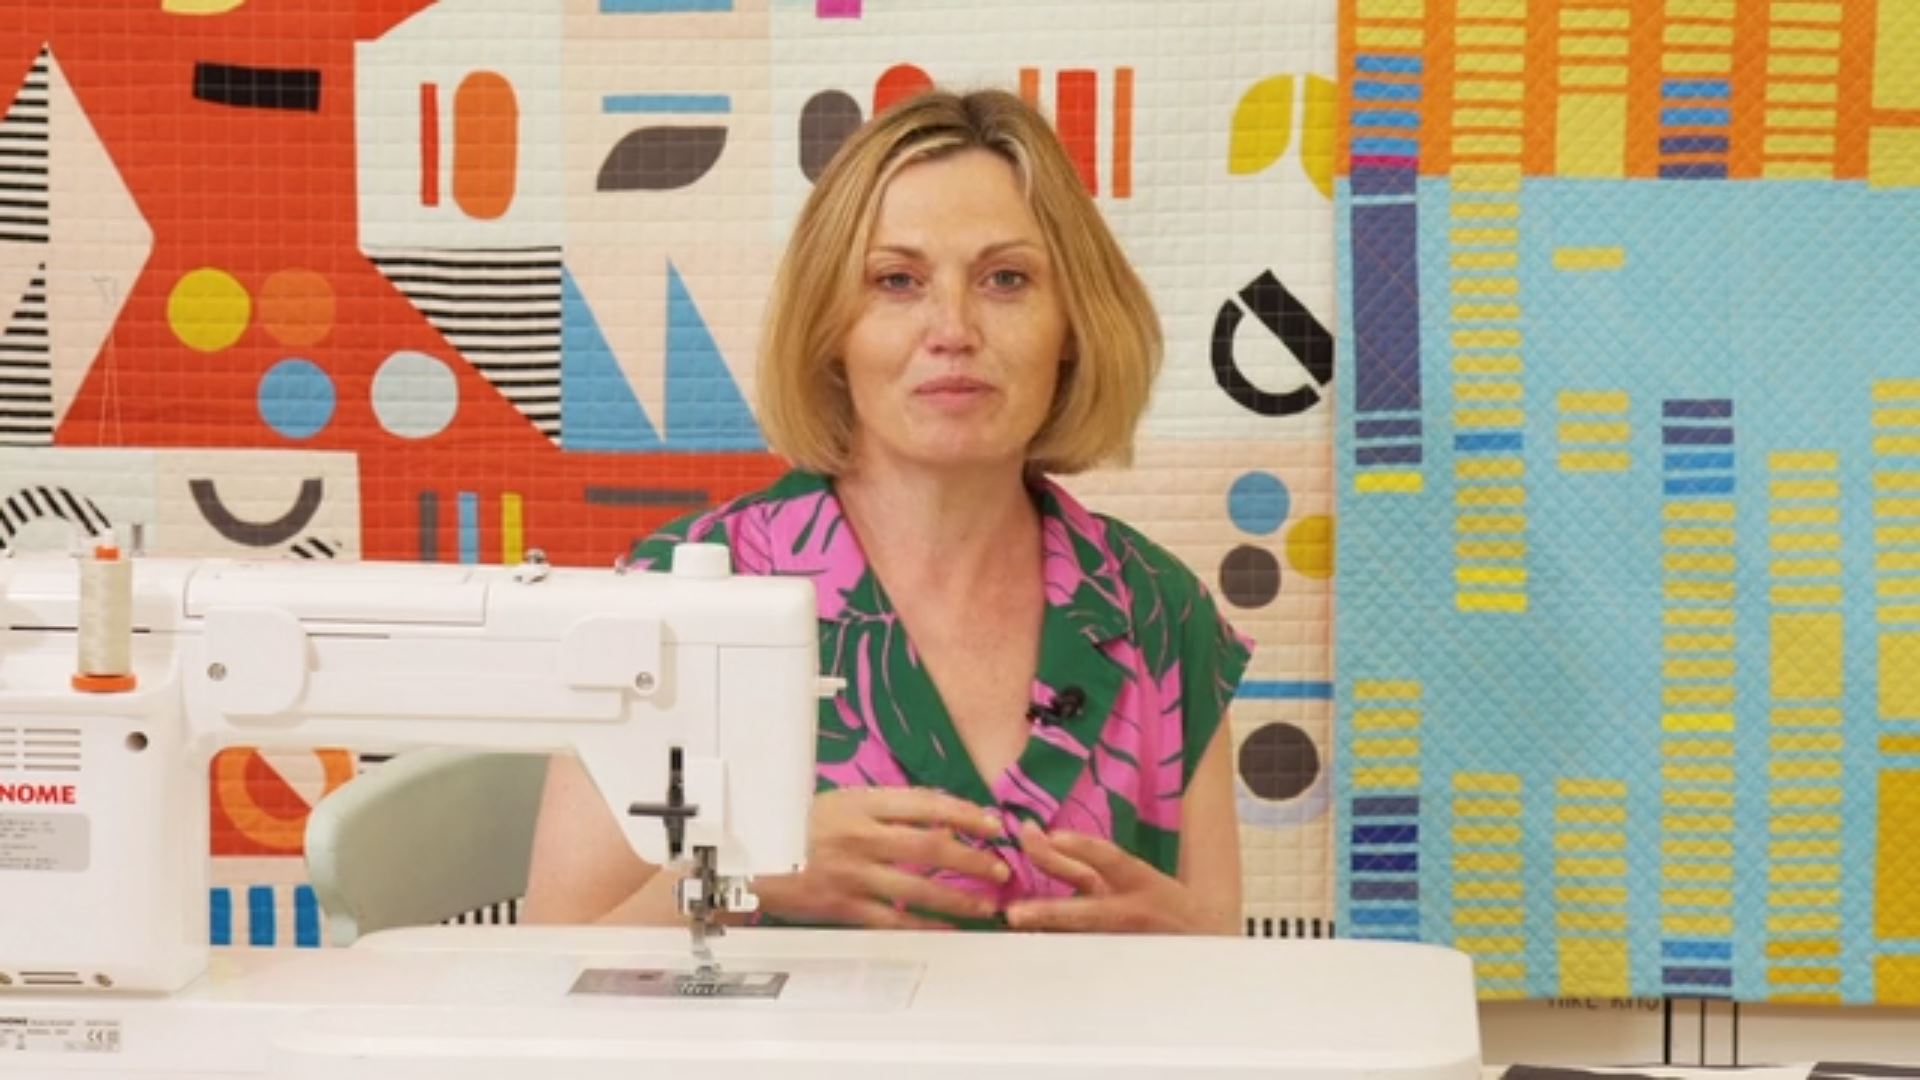
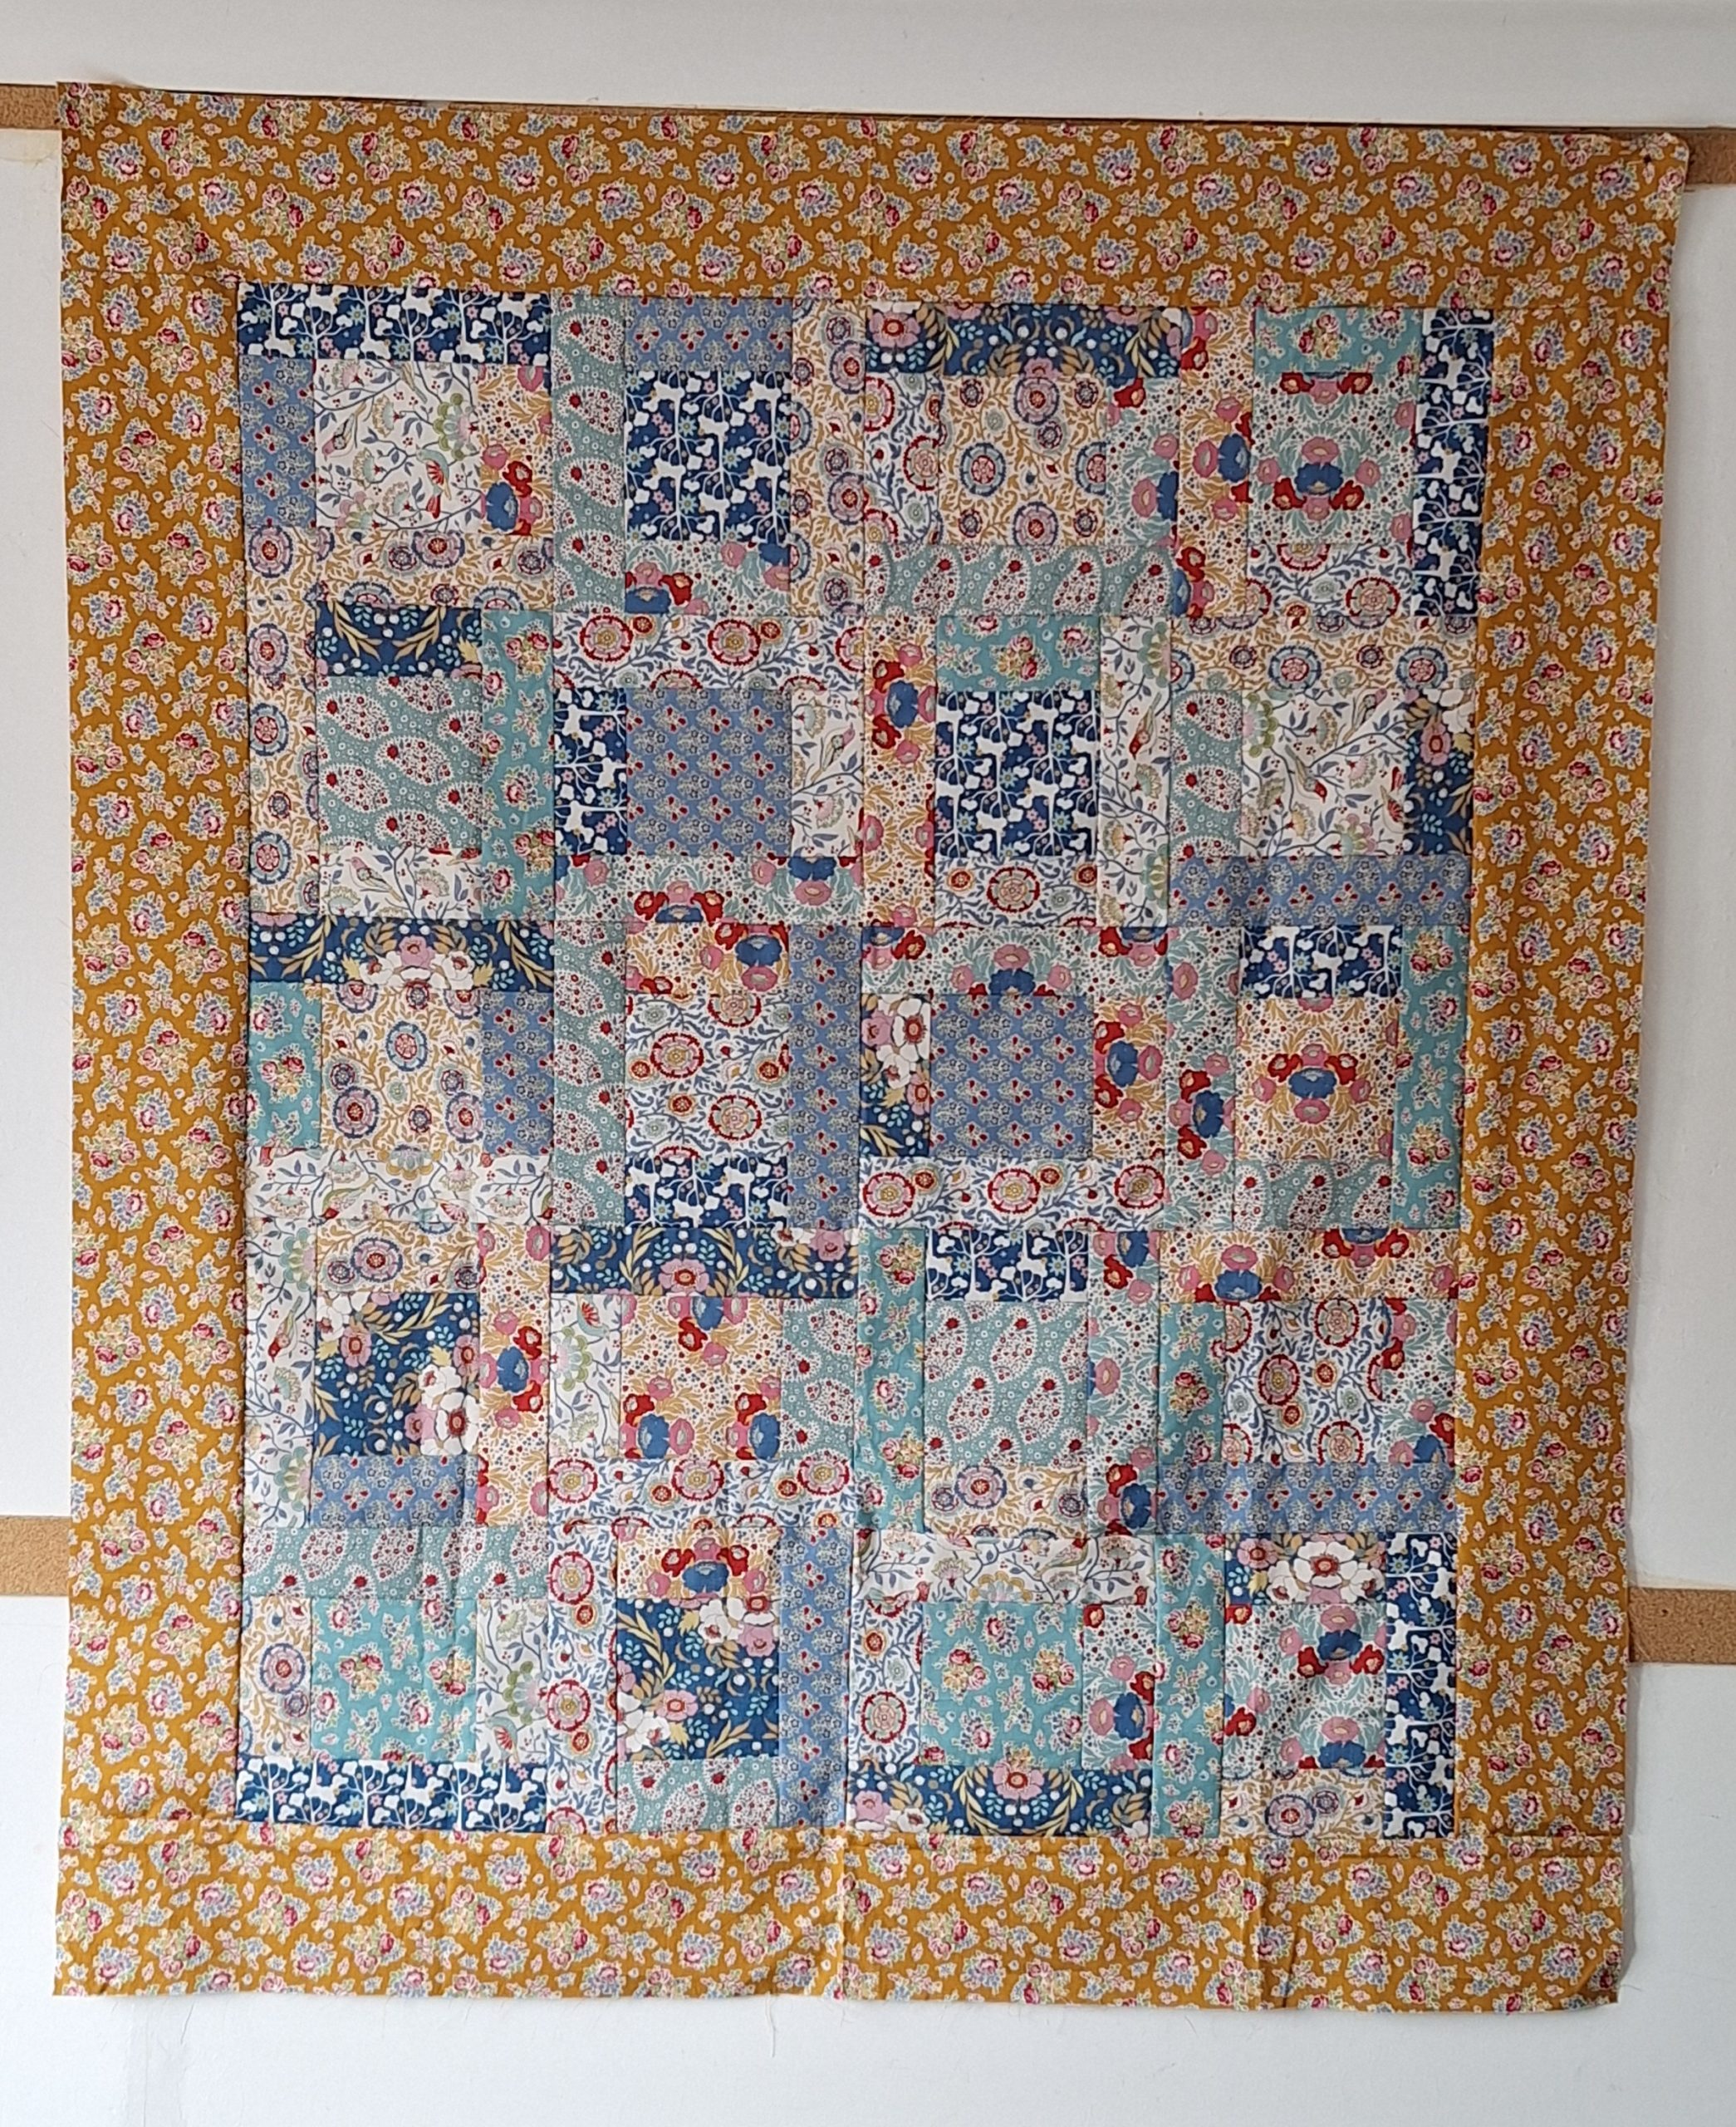
Well, here we are putting on the borders, and yes there are two of them. Jennie decided that a single ‘stop’ border would work best before the scrappy one.
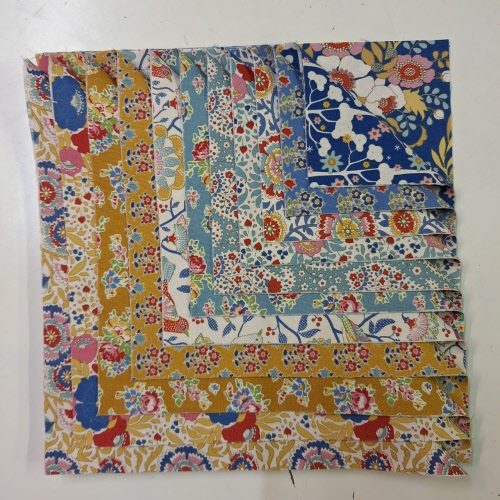
Jennie talks you through how to measure and not be a ‘lopper’ and how to make the delightful and useful scrappy border. The EZ template makes easy work of the cutting, but you do have this angle on your regular ruler, if you don’t want the expense of the template.
Do get in the habit of multilayer cutting though as this certainly speeds things up and you get not only lots of lovely accurate pieces, but you get to do the fun bit of sewing so much quicker.
Finally, Jennie has a little tip to give you about sorting out the corners, again useful for any quilt.
Click here for Finishing Jennie’s Stripy Stripey Story Quilt.
Quick Links
Block of the Month | borders | classes with Jennie Rayment | Jennie Rayment | patchwork | quilt | quilting | quilting intermediate | quilting series | quilting tutorial | quilting video tutorial | scrap | tutorial with Jennie Rayment(You can use Quick Links, which are also on the left hand side of most pages, to find more content on specfic themes.)
About the Tutor

Jennie is a world renown quilt teacher, lecturer, author of nine quilt books and numerous patterns. From Houston to Qatar, Durban to Melbourne, Auckland and many other international cities, Jennie has wowed them all with her superb teaching style and hilarious lectures all laced with wit, charm and professional expertise.


Reviews
There are no reviews yet.